
Breaking The Frame
RICH
HIGHLY DETAILED
IMMERSIVE
Create a 3D/2D Animation that breaks a frame or open space. Composite using a combination of Cinema4D + Nuke or After Effects.
concepts
design
animation
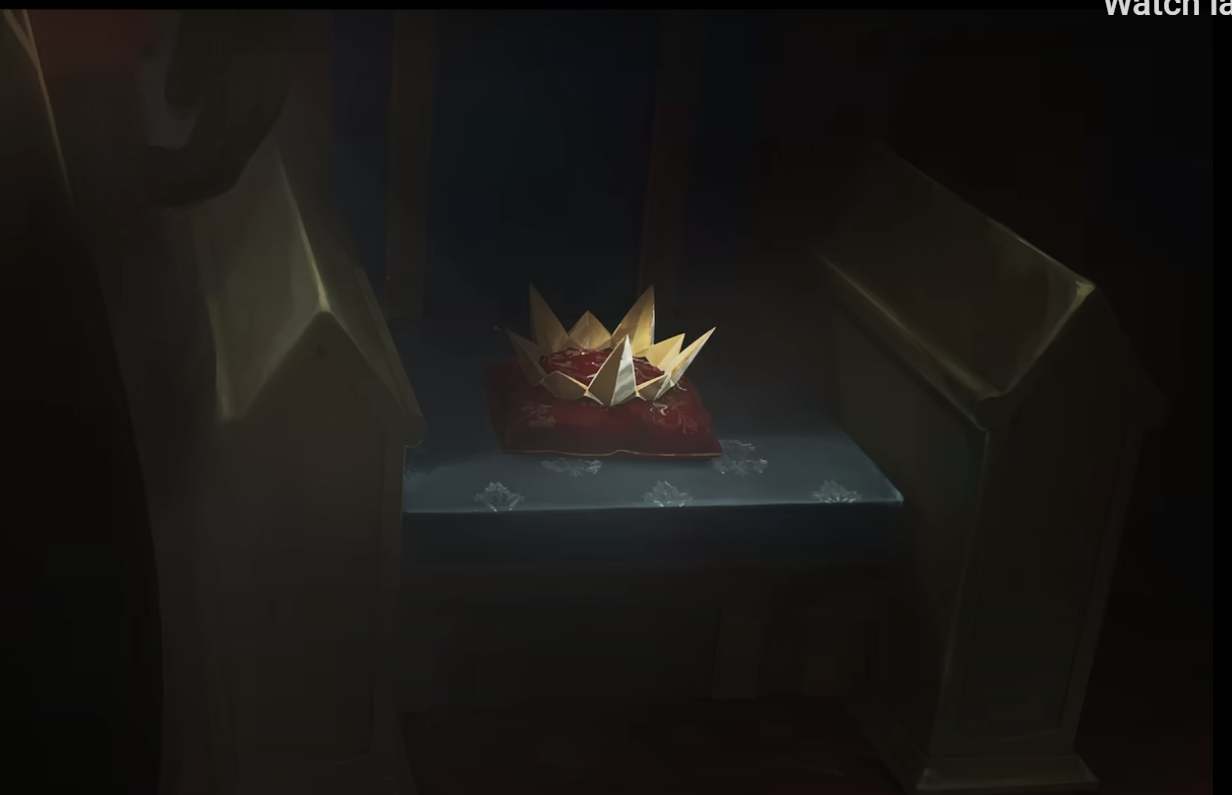
Heavy is the Crown
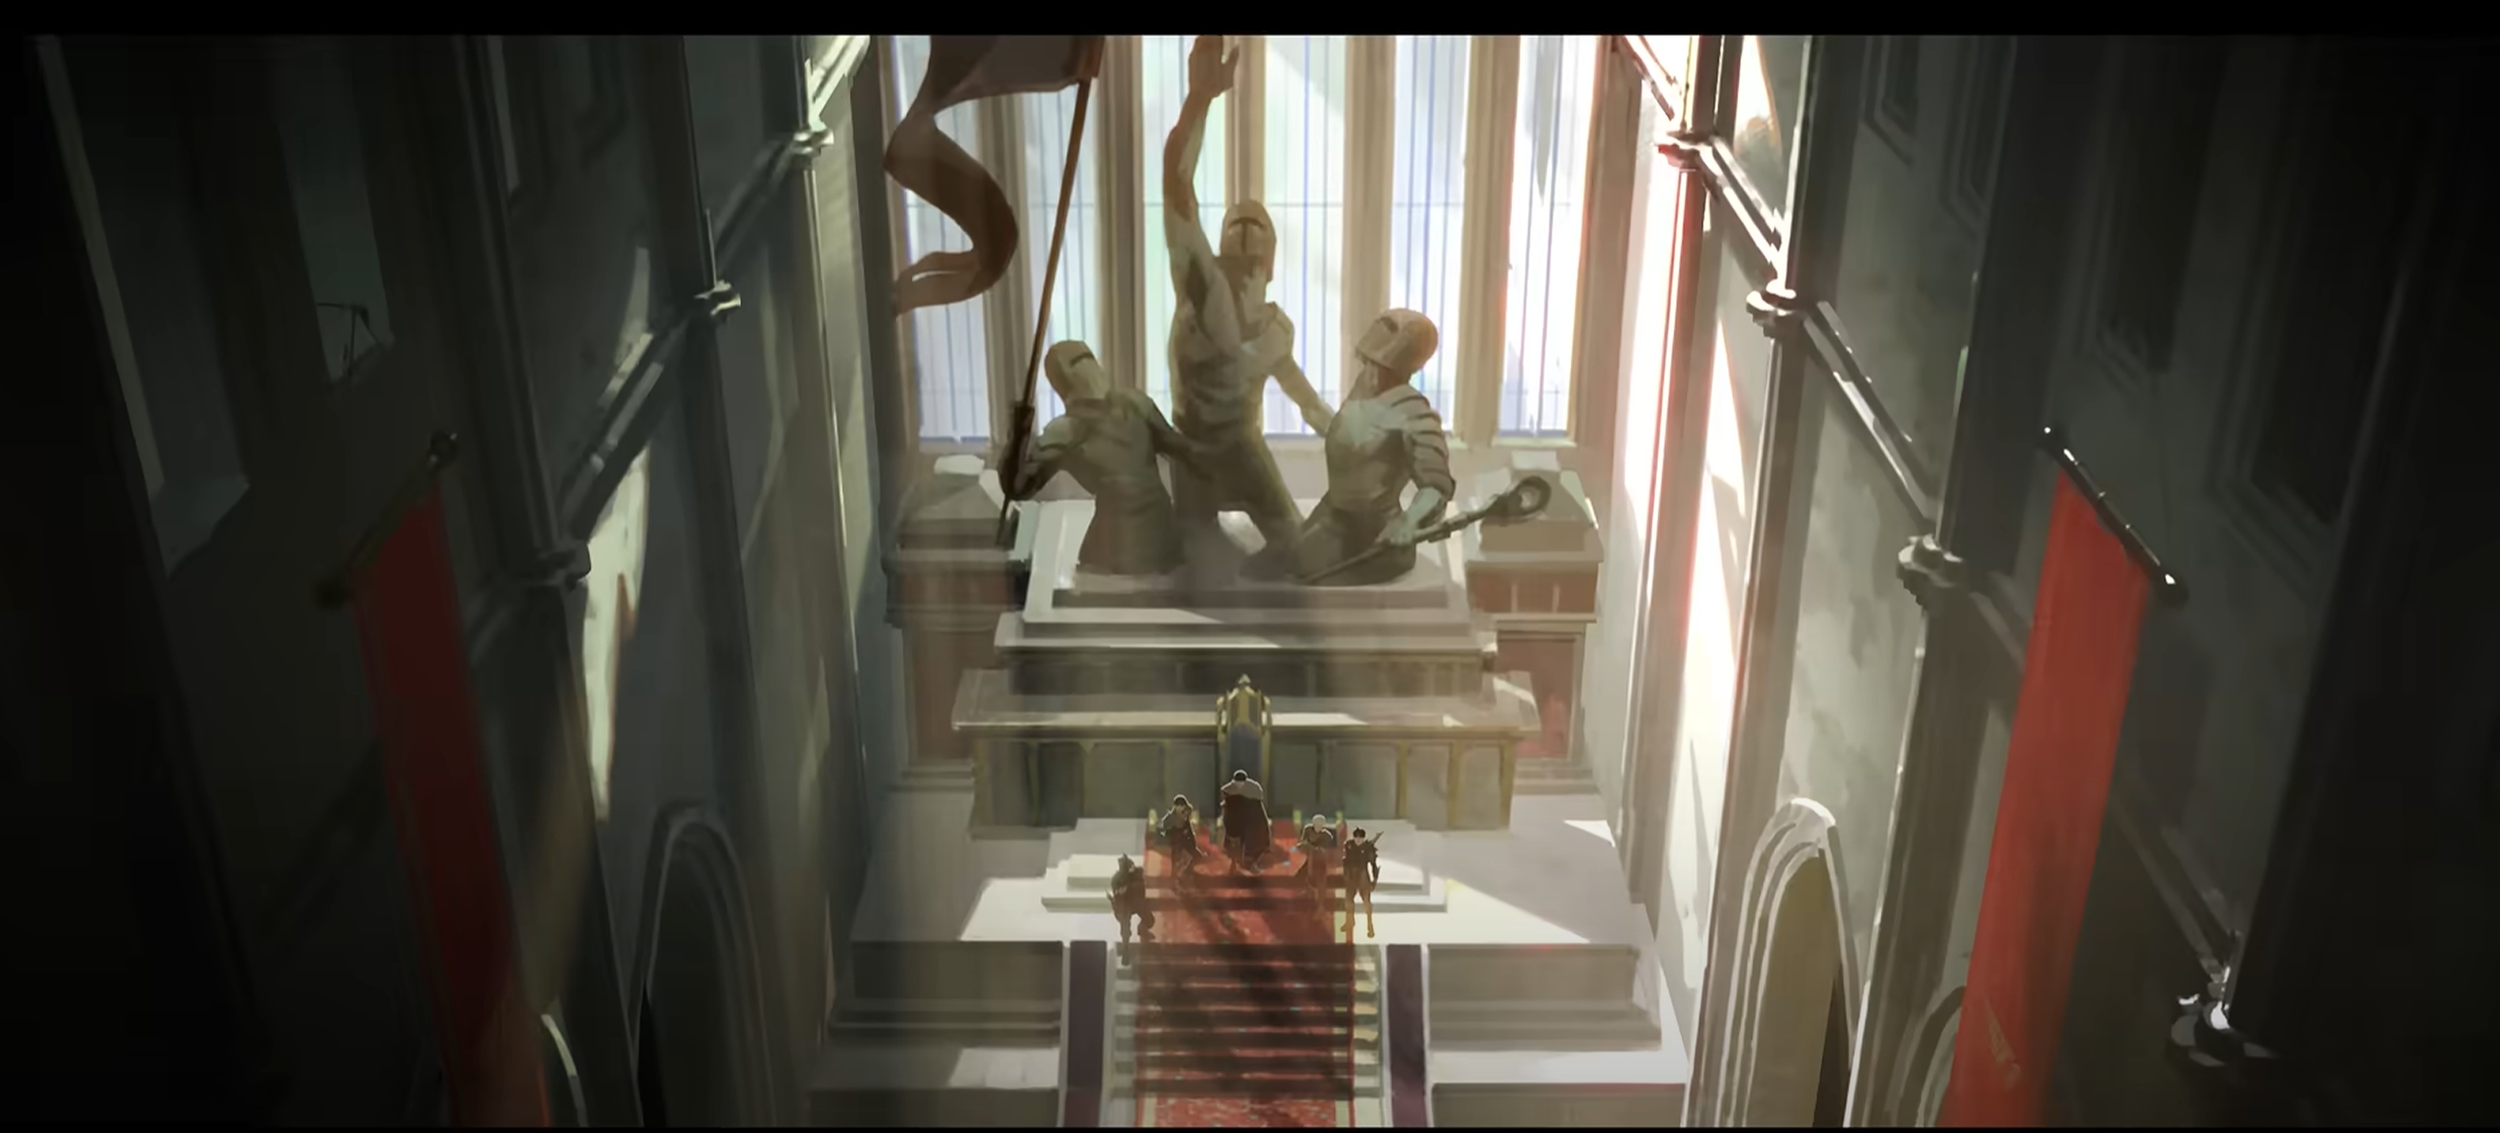
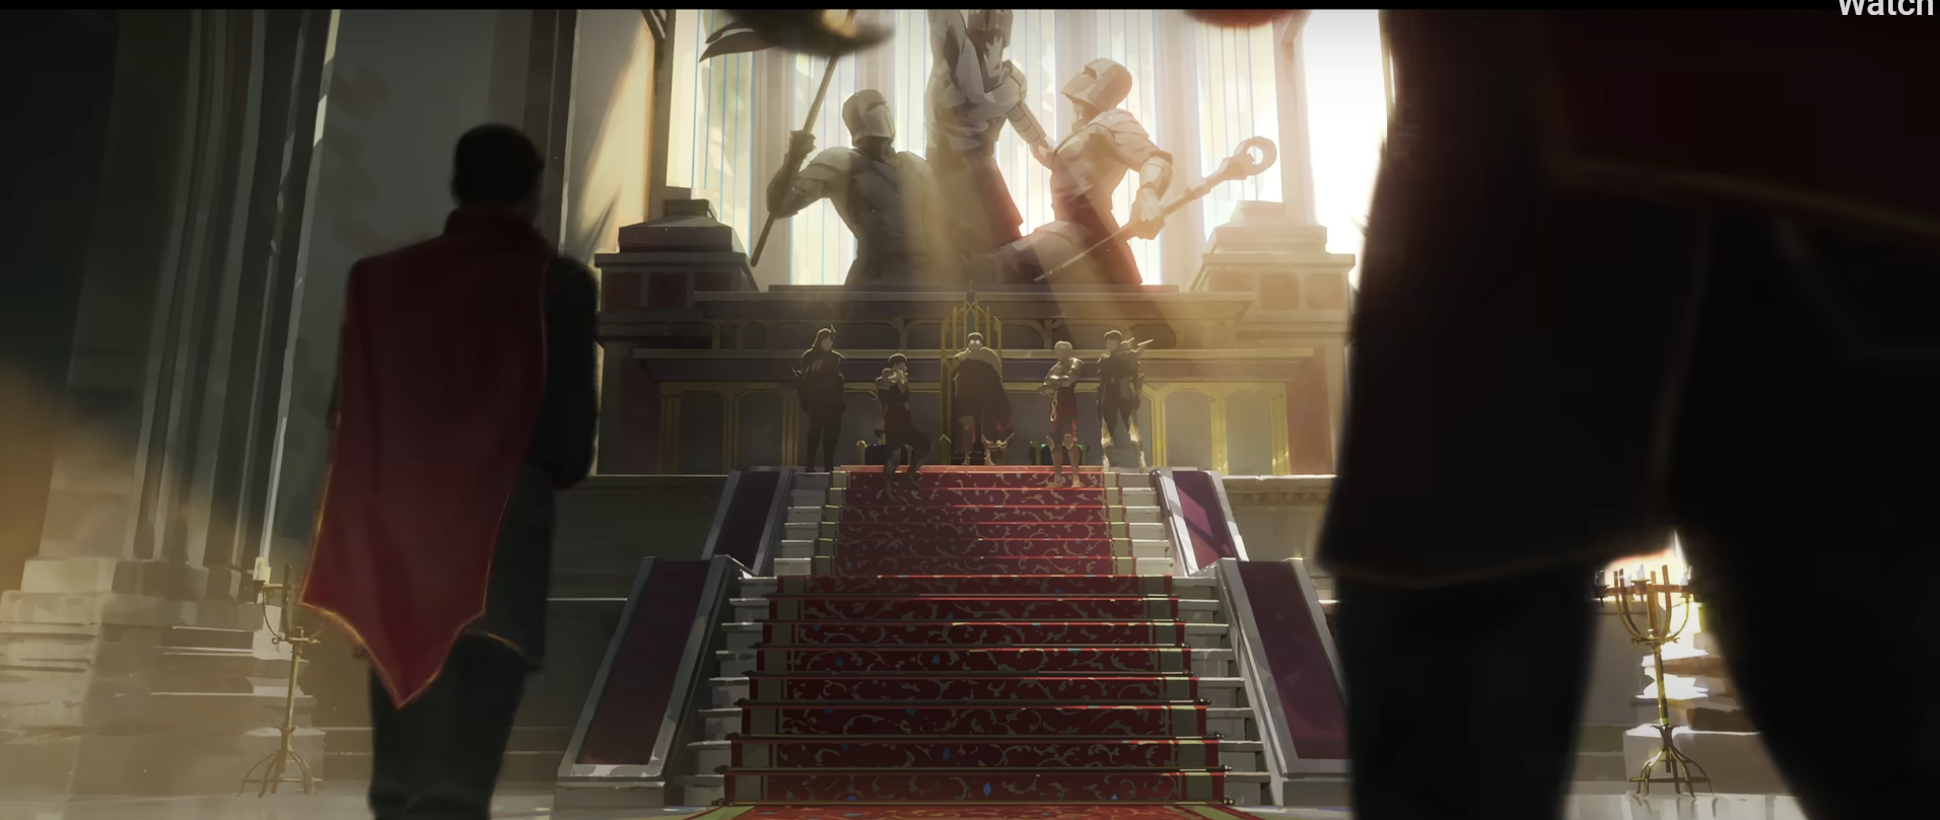
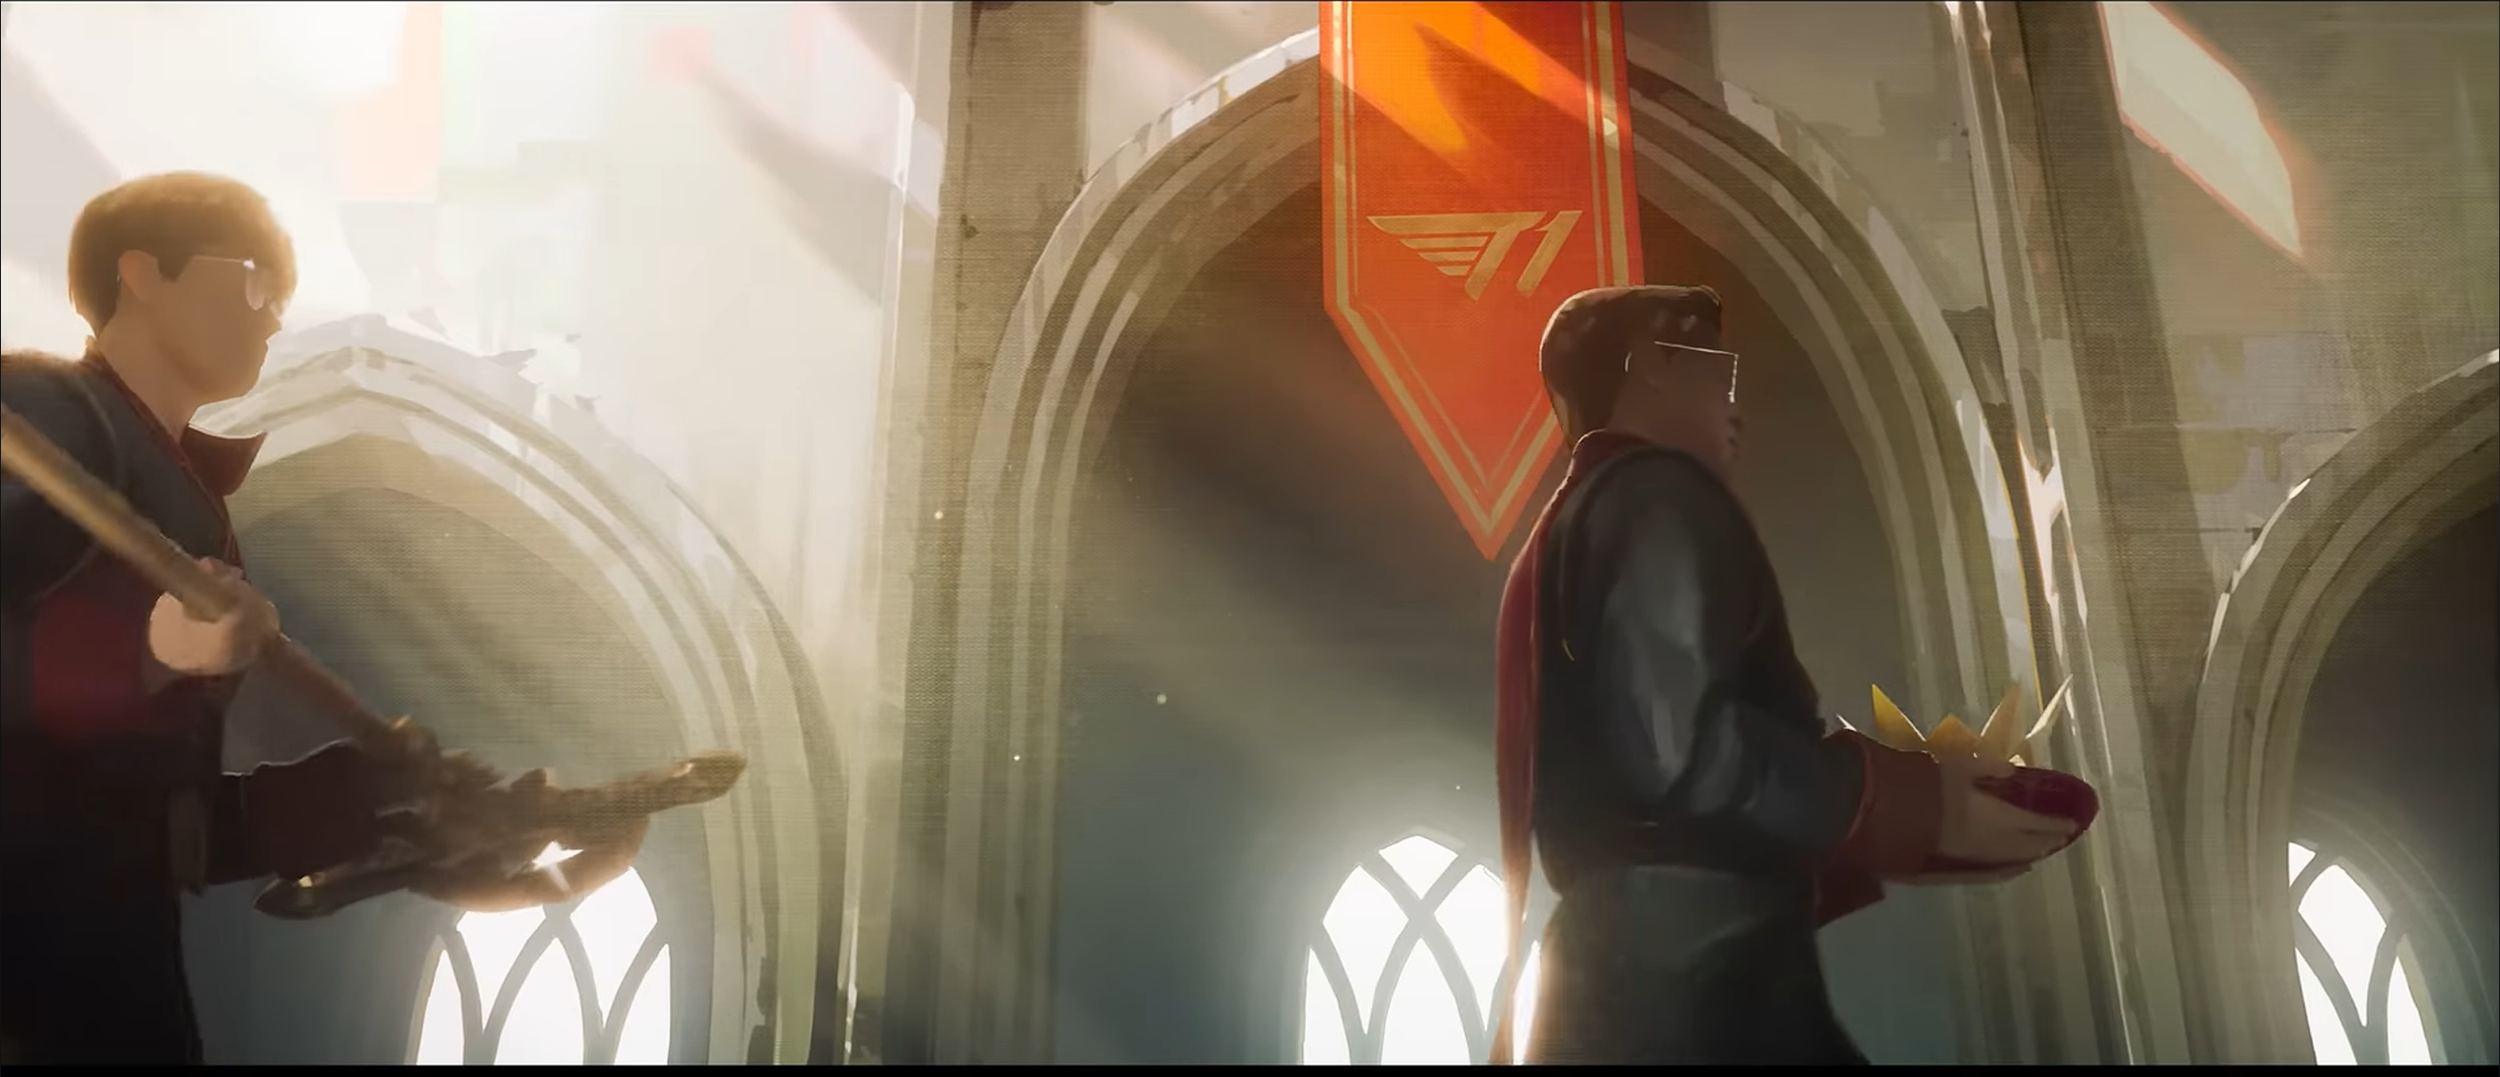
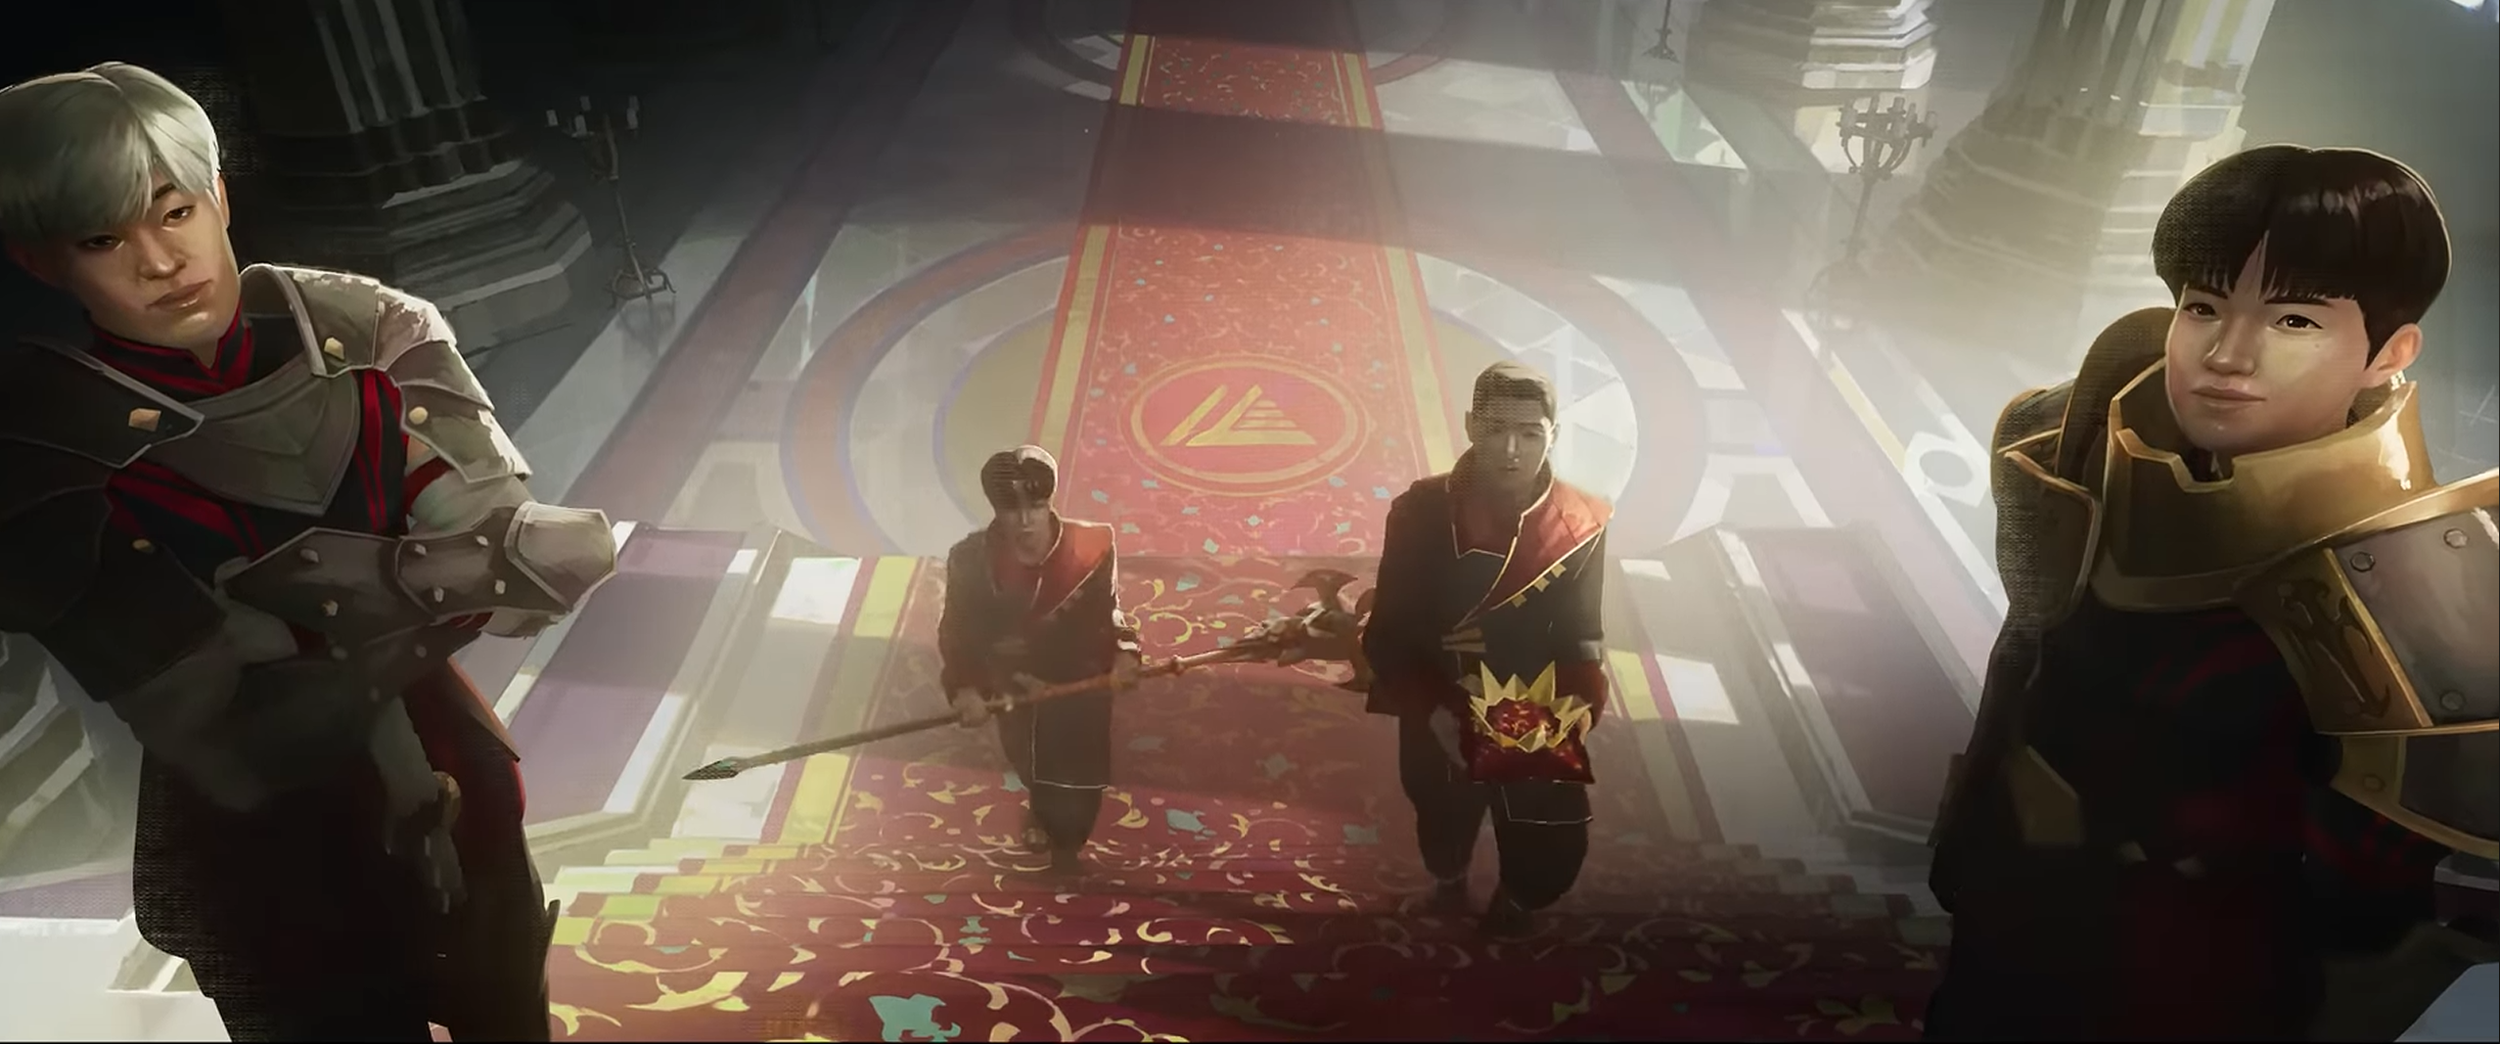
The FNL Render is a After Effects composite that looks to translate the style of the original “Heavy is the Crown” 2D Environment into a cinematic 3D environment. The goal is to create a commercial-level composite render that is promotional snippet for the game “League of Legends”.
REF
A cinematic 3D recreation of the throne room inspired by Riot Games’ “Heavy Is the Crown,” emphasizing mood, scale, and dramatic lighting.
Challenges
How do I accurately recreate the 2D environment from the video?
This was an initially a difficult task. If you watch the original video very closely, you will find the setting is not always designed the same way, different close-ups and wide shots made it so that the environment did not always look the same, but there was a general map that laid out everything. I ended picking and combining results I thought would be best and most accurate in the real-world.
How do I model gothic cathedral and character assets accurately?
There was a lot of modeling involved in order to recreate the specific assets seen in the 2D version. The final result required MANY hard-surface models using subdivision modeling techniques to capture realistic displacement. This of course, came with many issues around UV Mapping, which I worked around by finding ways to simplify my models in a way that the textures could be continuous without tiling.
How do I get a lighting setup that doesn’t blow out my scene when the main lights travel through large glass windows?
There were many lighting iterations through the creation of this project. I could never really find what felt right with so many angles. What I landed on was a combination of about three lights that made the statues a monumental piece for the environment without losing the rest of the environment in the shadows by using a motivational lighting that glorified the statues and reinforces their poses and meaning.
Accomplished
3D models with complex geometry become difficult to UV map, angles can also present an issue when it comes to hiding texture seams. Sometimes, you’re not certain if the UV will work until the piece has more geometry - it’s a lot of back-and-forth effort but its worth it for the final result.
I learned a lot more about UV Mapping angled objects + organizing 3D models.
Topology can be a daunting task - especially when it comes to hard surface modeling - if it is not done correctly, there are a lot of strange artifacts and faceting that can occur in your geometry and then into your textures, as well. I had to think back to the basics, and find the edge flow.
Demonstrating an understanding of basic hard surface modeling techniques and using them to ensure clean topology in more complex models.
Experimented with character rigging in Cinema4D to pose statues.
Character animation in 3D is not something I have had the chance to spend a lot of time with, so tasks like rigging to get the statues done correctly was a daunting task. I think I stopped myself multiple times thinking, “there' is no way I am gonna get this to look right.” After lots of fighting with rigs, learning how to rig, or even considering sculpting the models from scratch; I eventually landed on a good result. This just wouldn’t have been a loyal recreation of the environment without the statues.
MODELING
Much of the modeling was done from scratch given that many medieval models I could find online were triangulated or not good for the amount of deformation quality necessary for tessellation + displacement. It’s primarily hard surface modeling with some organic models. I almost always use subdivision modeling techniques for clean bevel quality + mesh deformation.
Camera & Lighting Setup
I modeled everything with the camera positioning in mind to save time and hide seams given the nature of the shot’s angle. So below the surface, much of the environment is designed like a miniature with lights outside of environment and contained in a sphere to include the sky with clouds seen in the background.
Texturing
Much of this, and I mean much of this made out of variations of concrete. Since rock + brick materials are known to tile, I had to UV map much of the individual sections and then copy & paste them to other parts of the piece to finish the environment. In terms of fabric, carpet, and gold materials, I constrained it down to no more than two materials each with consistent colors.
ANIMATION
The crown animation was a simple null set-up combining the crown and pillow to a single axis that could be animated along the desired motion path at 24 FPS. There were a few trial and errors but I eventually came up with something I was happy with. When animating this I treated it like a ball-bounce: having an even amount of frames on either side of the animation curves, decreasing it as the ball traveled closer toward the camera. To convey the inertia of the movement, it would take the crown longer to go up, and quicker to go down.
Portal + VFX
The portal was done with clever masking and layer sequences. Since the Saber plug-in works with layer masks, I was able to animate the layer mask opening up and then closing with the value graph. So in reality, the portal is simply an animated spline path. The impact frames were a final decision as I couldn’t feel the impact of the portal opening till I added them; it gave a real world distorting effect.